

Quickstart
This guide takes you from a new account to a working form in a few minutes.
1. Create an account
Sign up at app.formiary.com/signup. When you first sign in, onboarding creates a team for you automatically. This is where your projects, members, and billing live. You can rename it or create more teams later.
2. Create a project
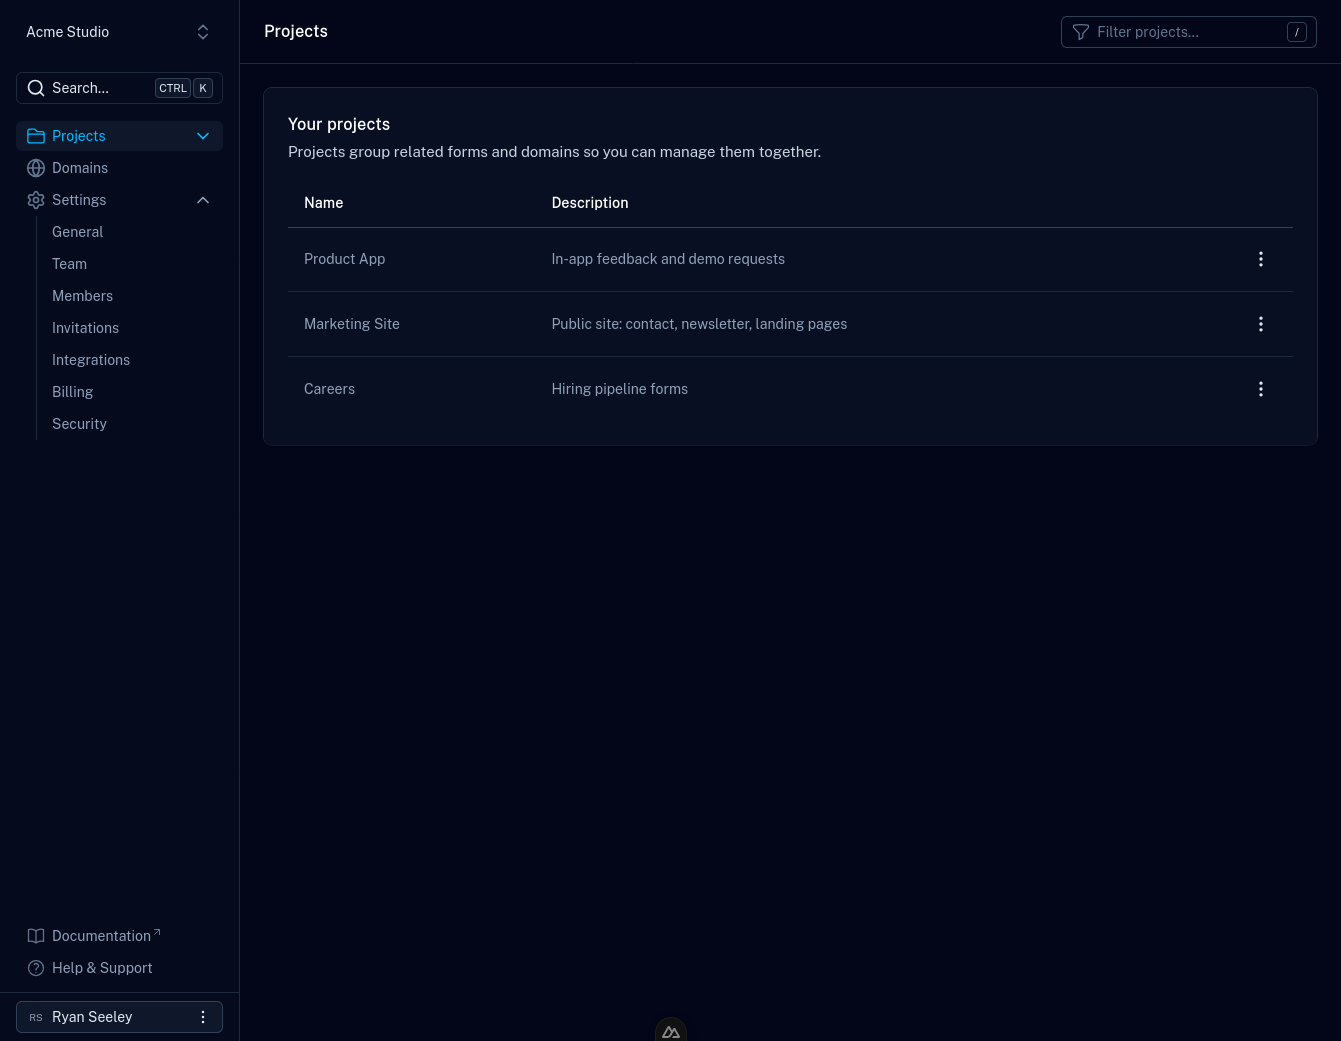
Projects group related forms, usually one per website.
- Open the Projects page.
- Click New Project.
- Give it a name and save.
3. Create a form
- Open your project and click New Form.
- Give the form a name (and an optional description).
- Save. Your form starts out active and ready to receive submissions.
4. Add fields
Fields define what your form collects and how each value is validated. Add one field for every input your HTML form has.
- On the form's page, click Add Field.
- Choose a field type (text, email, number, file, …).
- Set the field's name to match the
nameattribute of the corresponding<input>on your website. - Configure whether the field is required and any other options, then save.
5. Copy your submission URL
Open the form's Settings tab. Under Form URL you'll find the Submission URL, which looks like this:
https://api.formiary.com/api/v1/s/{submissionLinkId}
The submissionLinkId is unique to the form. Copy the full URL; you'll point
your website's form at it in the next step.
6. Connect your form
Post your form to the submission URL. Formiary accepts both form encodings a
browser can produce (multipart/form-data and
application/x-www-form-urlencoded), so a plain <form> works with or without
an enctype. From JavaScript, send a FormData object.
enctype="multipart/form-data", so the examples below
set it. It does no harm on a form without file inputs, and it means adding one
later needs no other changes.application/json. The endpoint expects form-encoded data, so send a
FormData body (JS) or post a normal <form>.<form
action="https://api.formiary.com/api/v1/s/YOUR_SUBMISSION_LINK_ID"
method="POST"
enctype="multipart/form-data"
>
<label for="name">Name</label>
<input type="text" id="name" name="name" required />
<label for="email">Email</label>
<input type="email" id="email" name="email" required />
<button type="submit">Submit</button>
</form>
const form = document.getElementById('myForm');

form.addEventListener('submit', async (event) => {
  event.preventDefault();

  const formData = new FormData(form);

  const response = await fetch(
    'https://api.formiary.com/api/v1/s/YOUR_SUBMISSION_LINK_ID',
    { method: 'POST', body: formData },
  );

  const data = await response.json();
  console.log('Submission created:', data);
});
<script setup lang="ts">
const state = reactive({ name: '', email: '' });
const submitting = ref(false);

async function submitForm() {
  submitting.value = true;
  try {
    const formData = new FormData();
    formData.append('name', state.name);
    formData.append('email', state.email);

    const response = await fetch(
      'https://api.formiary.com/api/v1/s/YOUR_SUBMISSION_LINK_ID',
      { method: 'POST', body: formData },
    );
    console.log('Submission created:', await response.json());
  } finally {
    submitting.value = false;
  }
}
</script>

<template>
  <form @submit.prevent="submitForm">
    <input v-model="state.name" type="text" name="name" required />
    <input v-model="state.email" type="email" name="email" required />
    <button type="submit" :disabled="submitting">Submit</button>
  </form>
</template>
import { useState } from 'react';

export function ContactForm() {
  const [submitting, setSubmitting] = useState(false);

  async function handleSubmit(event: React.FormEvent<HTMLFormElement>) {
    event.preventDefault();
    setSubmitting(true);
    try {
      const formData = new FormData(event.currentTarget);
      const response = await fetch(
        'https://api.formiary.com/api/v1/s/YOUR_SUBMISSION_LINK_ID',
        { method: 'POST', body: formData },
      );
      console.log('Submission created:', await response.json());
    } finally {
      setSubmitting(false);
    }
  }

  return (
    <form onSubmit={handleSubmit}>
      <input type="text" name="name" required />
      <input type="email" name="email" required />
      <button type="submit" disabled={submitting}>Submit</button>
    </form>
  );
}
Replace YOUR_SUBMISSION_LINK_ID with the value from your form's Settings tab.
7. What your visitor sees
This differs depending on whether your form submits with JavaScript. Check which case you're in before you go live.
With JavaScript
Your fetch call gets JSON back and your page never navigates, so you decide
what to show. A successful submission returns 201 with the submission's id
and values. A validation failure returns 400 with an extra array naming each
problem:
{
  "status": 400,
  "title": "Invalid form submission",
  "extra": [
    { "loc": ["email"], "msg": "value is not a valid email address" },
    { "loc": ["message"], "msg": "Field required" }
  ]
}
loc is the field's name, so you can match each message to the right input and
display it inline. Remember to check response.ok, because a failed submission
still resolves the promise.
Without JavaScript
A plain <form> submits by navigating the browser to Formiary, so your page is
replaced by whatever we return. There's nothing for you to build. Formiary
shows a confirmation page on success, and on failure a page listing which fields
need fixing, with a Go back and fix button.
That button returns visitors to your form with what they already typed still filled in.
On a paid plan you can redirect to your own thank-you page, or change the wording and colors of these pages.
8. Review submissions
Submit your form once to test it, then open the form's Submissions tab in the dashboard. You'll see the entry with its values and timestamp. From here you can search, filter, and export your data.
What's next
- Forms & fields — field types and validation.
- Notifications & auto-responses — get emailed on new submissions and reply to submitters.
- Spam protection — honeypots, link detection, and rate limits.
- Integrations — forward submissions to your own systems with webhooks.